Sign up to and create your Organization and Projects to get started in Nucleus One.
NUCLEUS ONE SIGN UP
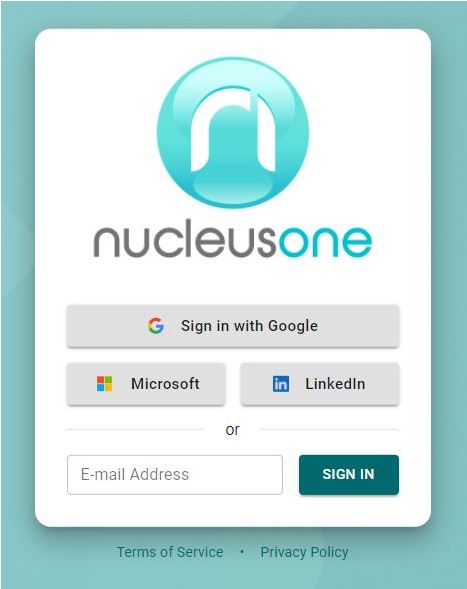
Go To https://app.nucleus.one
Sign up using your Google, Microsoft, or LinkedIn account or enter your email address to sign in.
USER MENU
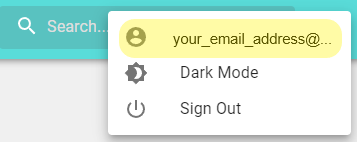
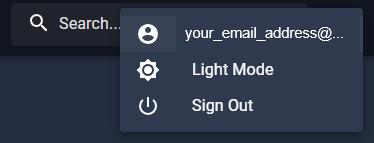
Click the “User Menu” icon found at the top-right corner of the page.
USER ACCOUNT
Click the “User Menu Icon” found at the top-right corner of the page.
In the drop-down menu, click your email address.
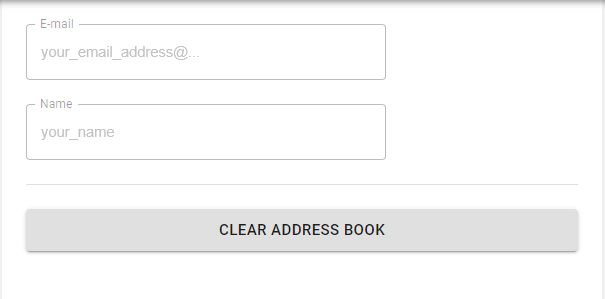
Here you can see the email address associated with your account as well as the name associated with the email address.
There is also a “CLEAR ADDRESS BOOK” button. Each user has an address book, which contains addresses that you’ve interacted with in the past. Clicking this button will clear the user’s address book. Addresses in the book appear in dropdown menus as choices when assigning tasks, or sending documents for signatures.
MODE TOGGLE
Click the “User Menu Icon” found at the top-right corner of the page.
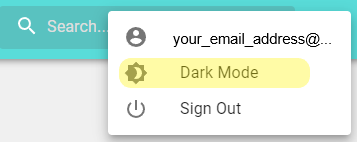
In the drop-down menu, click a mode to switch. The listed mode is the opposite of your current mode.
SIGN OUT
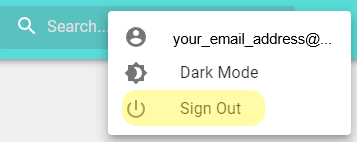
Click the “User Menu Icon” found at the top-right corner of the page.
In the drop-down menu, click “Sign Out” to sign out of Nucleus One.
HOME PAGE
Click the “House Icon” on the left edge of the page to go to the home page.
Here you have buttons to take you to any pending work, to invite new members to the organization, to manage your Nucleus One subscription. As well as the ability to jump to existing or create new projects and departments.
ORGANIZATION MANAGEMENT
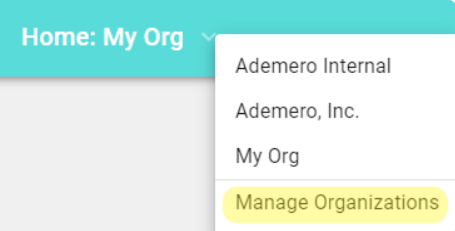
Click the “Organization Name” found at the top-left corner of the page, next to the Nucleus One logo.
In the drop-down menu, click “Manage Organizations”.
-OR-
Click the “Members” or “Subscription” buttons on the home page.
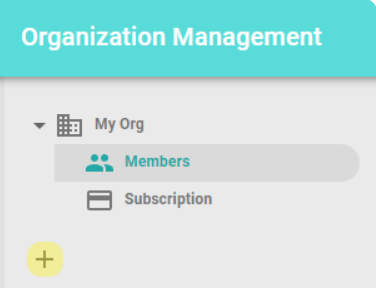
The Organization Management page will show a list of all the organizations you own on the left.
You can click the Plus sign to add a new organization.
EDIT ORGANIZATION NAME
Navigate to the Organization Management page.
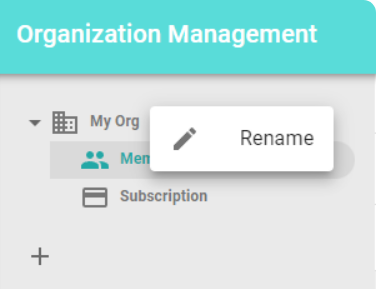
Right click the name of the organization you wish to edit.
Click Rename.
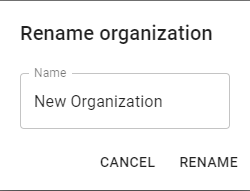
Enter a new Organization Name in the resulting popup. Click “RENAME”.
ADDING ORGANIZATION MEMBERS
Navigate to the Organization Management page.
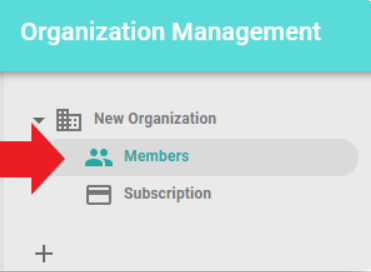
Click the Members sub-option within the organization of your choice.
A list of Organization Members will show to the right.
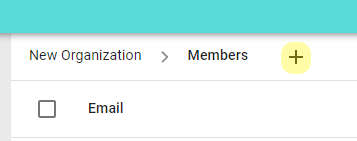
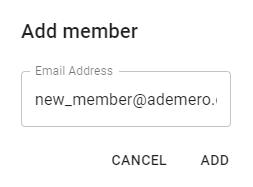
Click the Plus sign above the list of members.
Enter an email address and click ADD.
An invitation email will be sent to the new member of your organization.
MANAGE SUBSCRIPTION AND BILLING PLAN
Navigate to the Organization Management page.
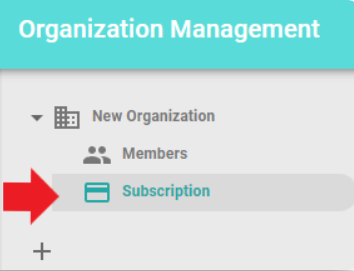
Click the Subscription sub-option within the organization of your choice.
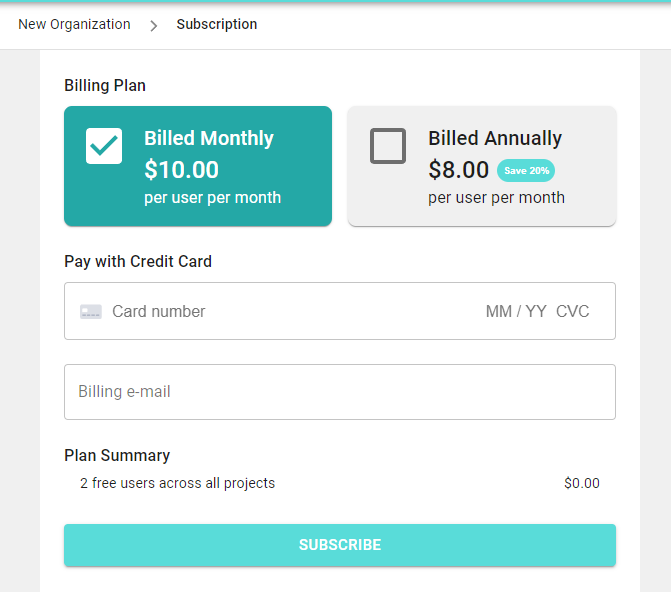
The Subscriptions Page will show your Billing options.
PROJECTS PAGE
Click the “Clipboard Icon”, found on the left edge of the page.
-OR-
Click a project name from the “Home Page.”
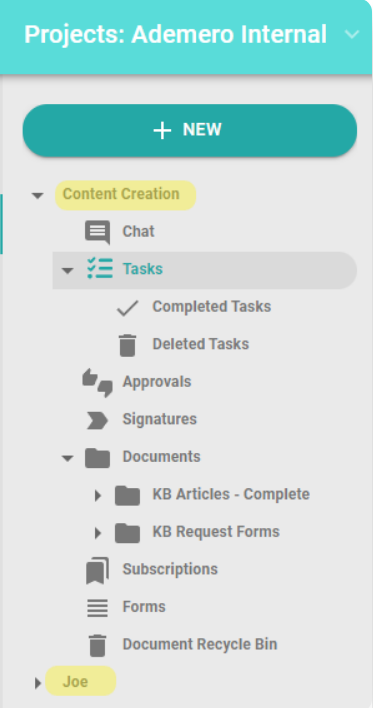
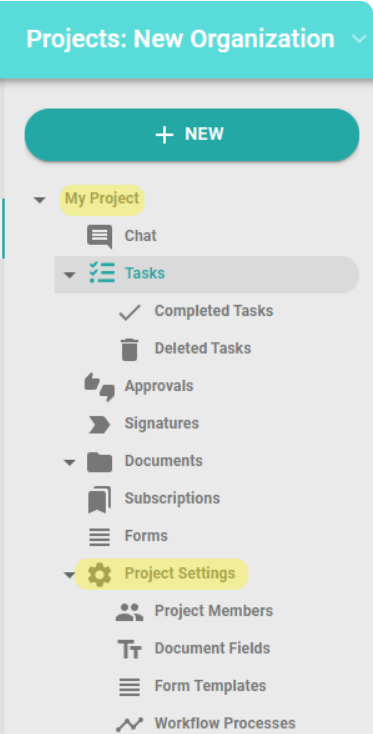
The Projects page will show all the projects you are a member of, within the currently selected organization. Sub-headings exist under each project. They include Chat, Tasks, Approvals, Signatures, Documents, Subscriptions, Forms, and Document Recycle Bin.
If you are an Organization Admin, or a Project Manager there is also the Project Settings sub-heading. Below are two pictures of different organizations. The picture on the left shows the “Ademero Internal” organization and the two projects of which the user is only a member, “Content Creation” and “Joe.” The picture on the right shows the “New Organization” created for this walkthrough, of which the user is the organization administrator, granting access to the Project Settings options under the project entitled “My Project.”
ADD NEW PROJECT
Navigate to the Projects Page.
Click the “+ NEW” button above the list of projects.
Select Project from the bottom of the list.
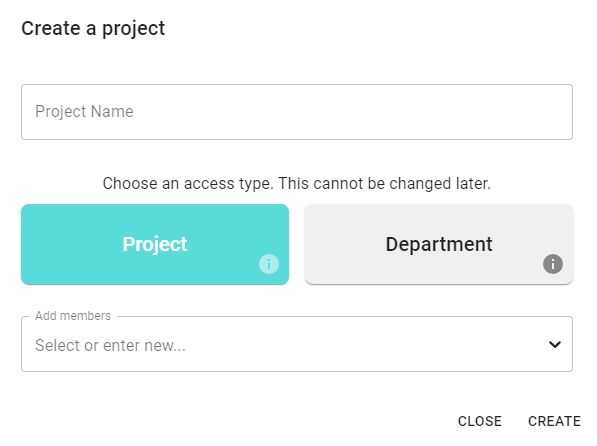
Enter a name for the project.
Click Project when choosing between Project and Department.
Add members by choosing from the dropdown, or typing in email addresses.
Click CREATE.
-OR-
Navigate to the Home Page.
Click Create Project.
Enter a name for the project.
Click Project when choosing between Project and Department.
Add members by choosing from the dropdown, or typing in email addresses.
Click CREATE.
EDIT PROJECT NAME
Requires being an Organization Administrator or a Project Manager.
Navigate to the Projects Page.
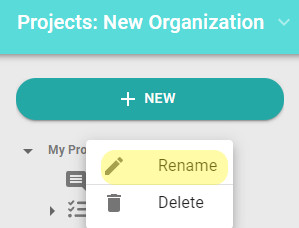
Right click the name of the project you wish to edit.
Click Rename.
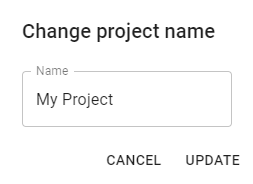
Enter a new Project Name. Click “UPDATE”.
ADDING PROJECT MEMBERS
Requires being an Organization Administrator or a Project Manager.
Navigate to the Projects Page.
Click the project name to which you wish to add members.
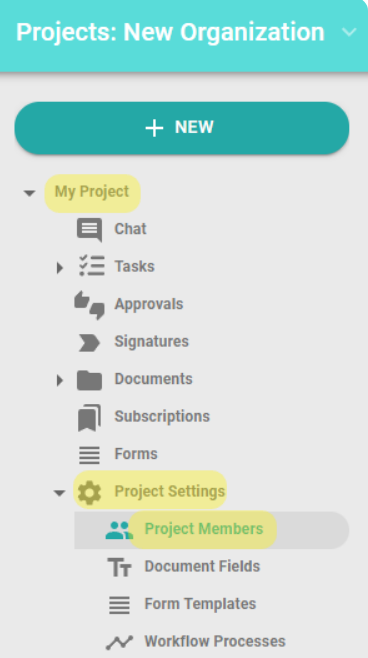
Click Project Settings.
Click Project Members.
A list of Project Members will show in the center of the screen.
Click the Plus sign above the list of Project Members.
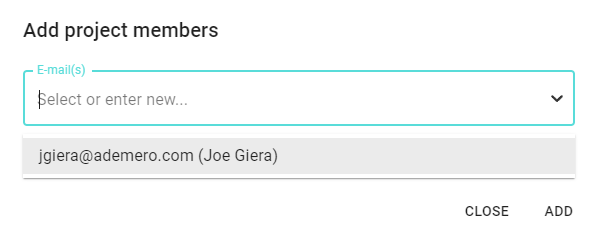
Select an existing organization member from the dropdown, or enter a new email address to invite the new member to the project.
Click ADD.
An invitation email will be sent to the new member of your project.
DELETE PROJECT
Requires being an Organization Administrator or a Project Manager.
Navigate to the Projects Page.
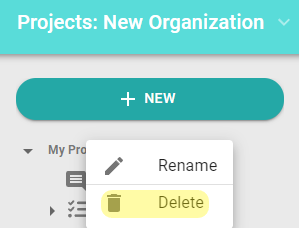
Right click the name of the project you wish to edit.
Click Delete.
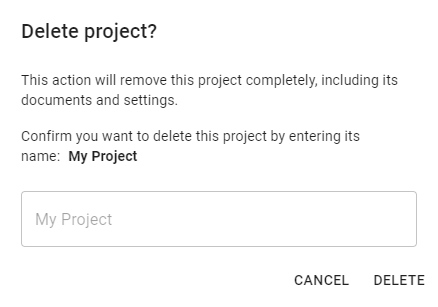
A deletion confirmation popup will appear.
Follow the instructions on the popup.
Click DELETE.
