Design workflows using Nucleus One’s easy to use workflow creation tool. Set triggers to start a process. Add actions such as wait for approval or send email notifications. Find out all about it below.
In order to create workflow in Nucleus One, you must be either an Organization Admin, a Project Manager.
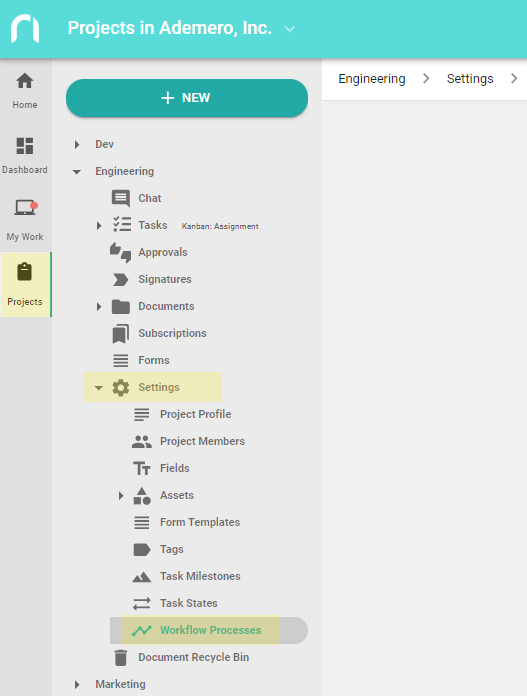
1. In a Project, expand the Settings option.
2. Click Workflow Processes.
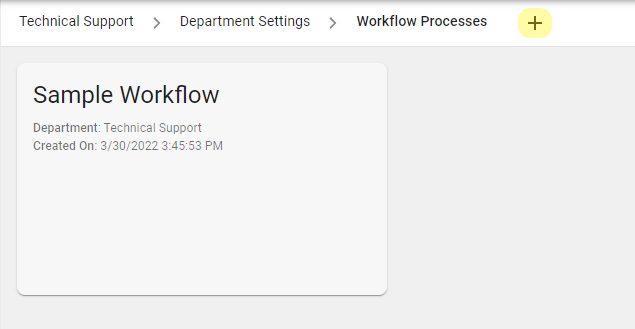
3. Click the Plus to create a new workflow.
4. Enter a name in the Add Process field.
5. Click CREATE.
Editing Workflow Names
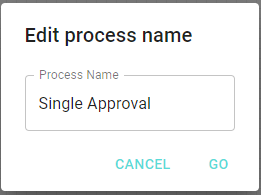
1. Click the workflow name at the top of the screen.
2. Type the new workflow name in the field and click GO.
Adding Triggers
Triggers are criteria used to start a workflow process. There are three types of triggers with various options that will be explored further below.
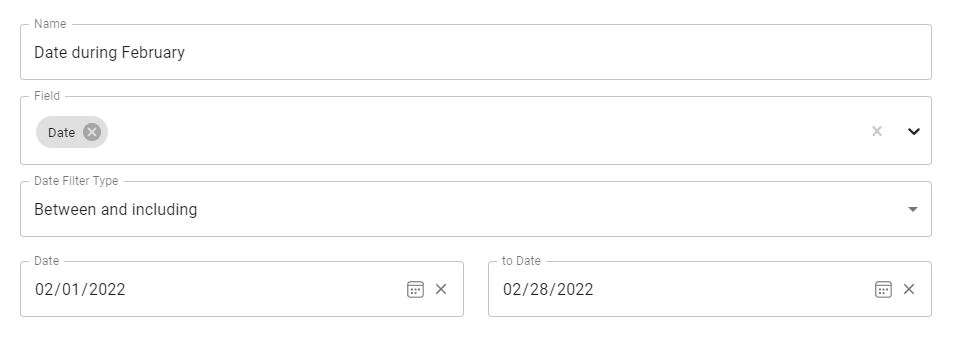
Field Commit
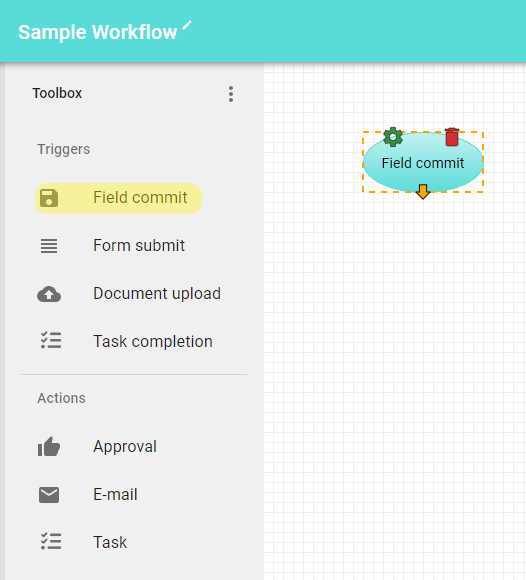
1. Drag the trigger from the left panel onto the field.
2. Click the cog wheel in the top left of the new element to access its settings.
3. Type a name in the field based on the element’s function.
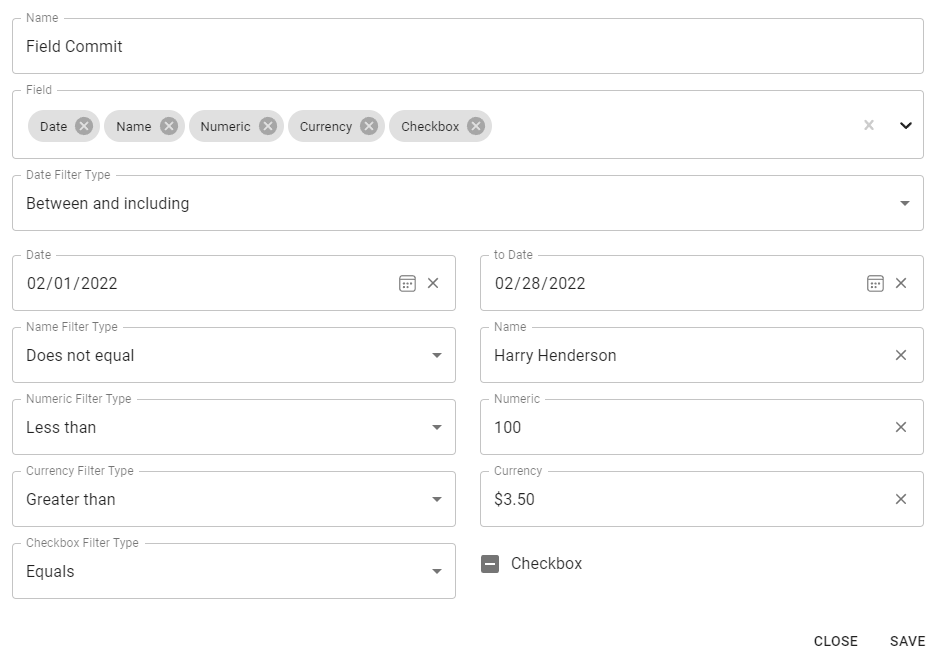
4. Select a field from the dropdown. You can select multiple fields by clicking the dropdown again.
• Using multiple fields in the same trigger implies the filter for each field must be true to start the process.
• If no fields are selected, then anytime COMMIT is clicked on a document, the workflow will start.
5. Choose the filter type for each field chosen in step 4.
• Each Data Type has its own filter options.
• Text Fields have the following options:
Equals – when the value in the text field matches the filtered value upon commit.
Does not equal – when the value in the text field is anything but the filtered field upon commit.
Has any value – when the value in the text field has anything in it upon commit.
Does not have a value – when the value in the text field is left blank upon commit
- Date, Currency, and Number Fields all have the same four options as the text fields, plus the following:
Greater than – when the value in the field is greater than or after the filtered number or date.
Less than – when the value in the field is less than or before the filtered number or date.
Greater than or equal to – when the value in the field is greater than, after or equal to the filtered number or date.
Less than or equal to – when the value in the field is less than, before or equal to the filtered number or date upon commit.
Between and Including – when the value in the field is between and including a range of dates or numbers entered in the filter.
• Checkbox Fields only have an equals option for either unchecked or checked.
6. Enter a value for each filter that requires one from step 5.
Form Submit
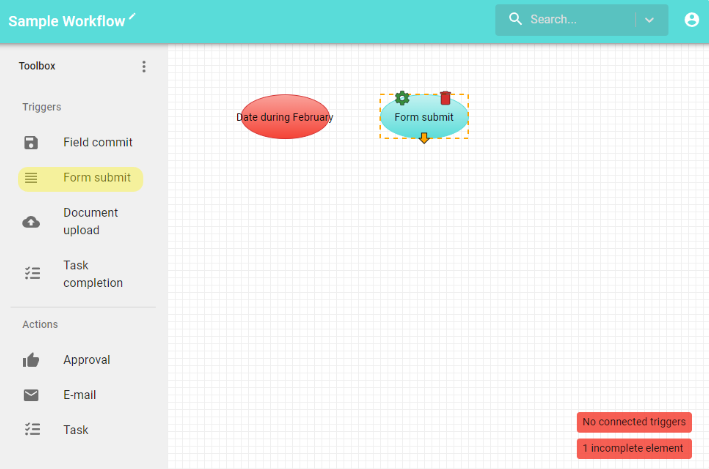
1. Drag the trigger from the left panel onto the field.
2. Click the cog wheel in the top left of the new element to access its settings.
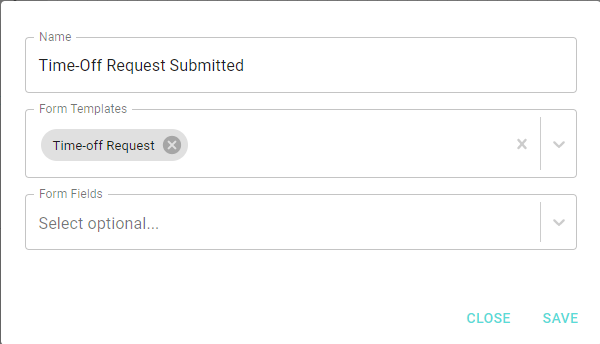
3. Type a name in the field based on the element’s function.
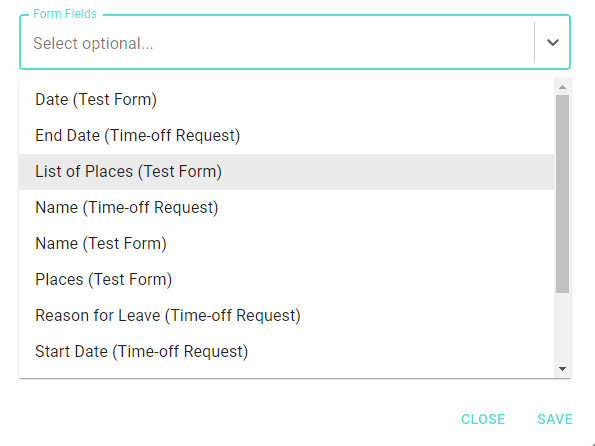
4. Select a form template from the dropdown. You can select multiple templates by clicking the dropdown again.
• This choice represents which templates can use this workflow.
• If no templates are selected, all forms will be used.
5. Select a field from the dropdown. You can select multiple fields by clicking the dropdown again.
• Each field name will have the form it belongs to next to it in parenthesis.
• Using multiple fields in the same trigger implies the filter for each field must be true to start the process.
• If no fields are selected then anytime a form is submitted, the workflow will start.
6. Choose the filter type for each field chosen in step 5.
• Each Data Type has its own filter options which are elaborated on in the Field Commit section.
7. Enter a value for each filter that requires one from step 6.
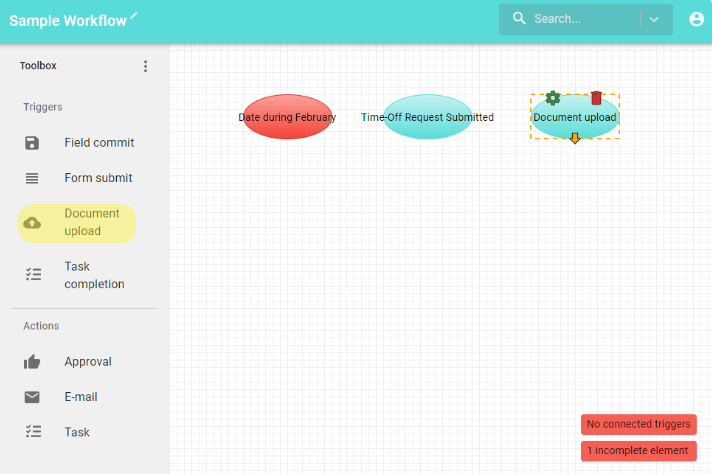
Document Upload
• This trigger will be true when any document is uploaded.
1. Drag the trigger from the left panel onto the field.
2. Click the cog wheel in the top left of the new element to access its settings.
3. Type a name in the field based on the element’s function.
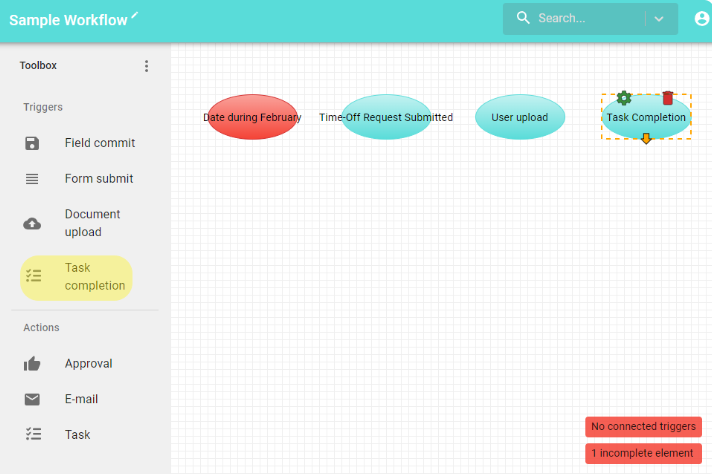
Task Completion
• This trigger will be true whenever the chosen user completes a task.
1. Drag the trigger from the left panel onto the field.
2. Click the cog wheel in the top left of the new element to access its settings.
3. Type a name in the field based on the element’s function.
4. Select a user from the Assigned to dropdown.
Adding Actions
Actions are what happens in a workflow process as a result of a trigger whose filter is true.
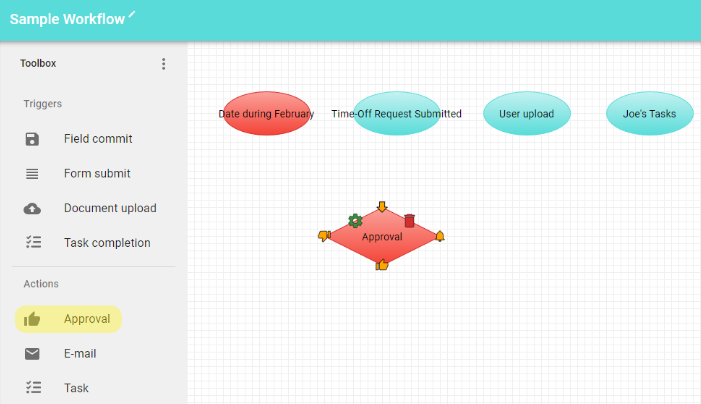
Approval Action
1. Drag the action from the left panel onto the field.
2. Click the cog wheel in the top left of the new element to access its settings.
3. Type a name in the field based on the element’s function.
4. Select a user from the Assigned to dropdown.
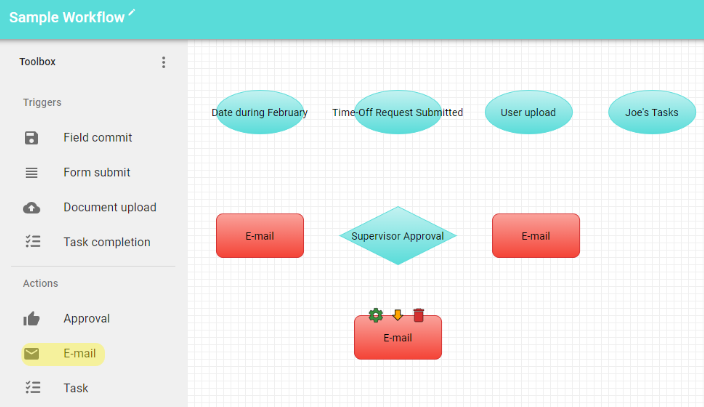
E-mail Action
1. Drag the action from the left panel onto the field.
2. Click the cog wheel in the top left of the new element to access its settings.
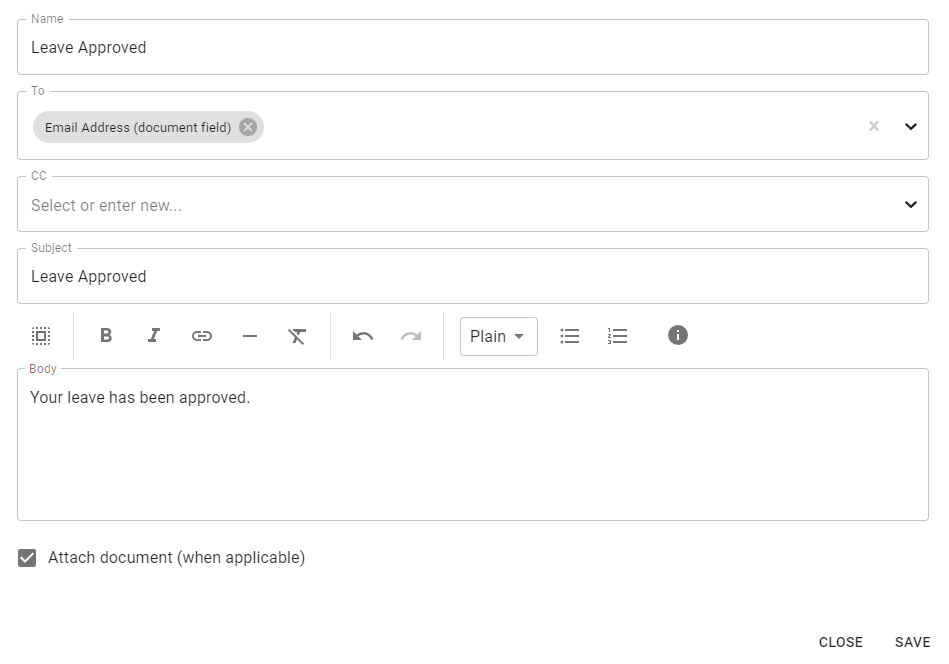
3. Type a name in the field based on the element’s function.
4. Add an email recipient in the To field.
• Choose a field to insert the value of that field into the To box.
• Choose an email address from a list of existing users.
• Type in a specific email address, if the intended recipient does not exist in the previous options.
5. (Optional) Add email addresses in the CC field.
6. Enter a subject for the email notification in the subject line.
7. Enter a body for the email notification in the Body field.
8. Include the document as an attachment to the message by clicking the “Attach document” checkbox.
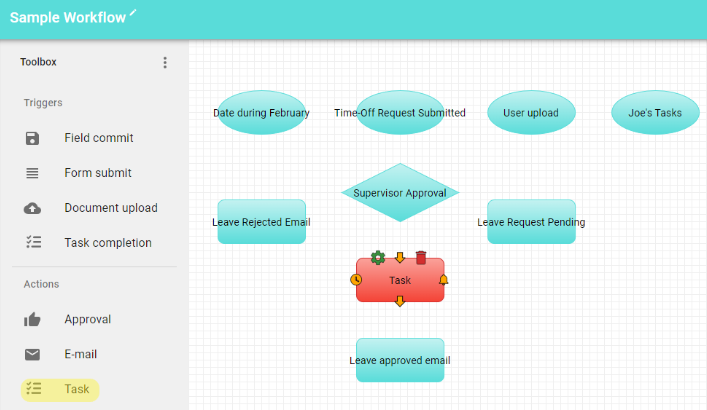
Task Action
1. Drag the action from the left panel onto the field.
2. Click the cog wheel in the top left of the new element to access its settings.
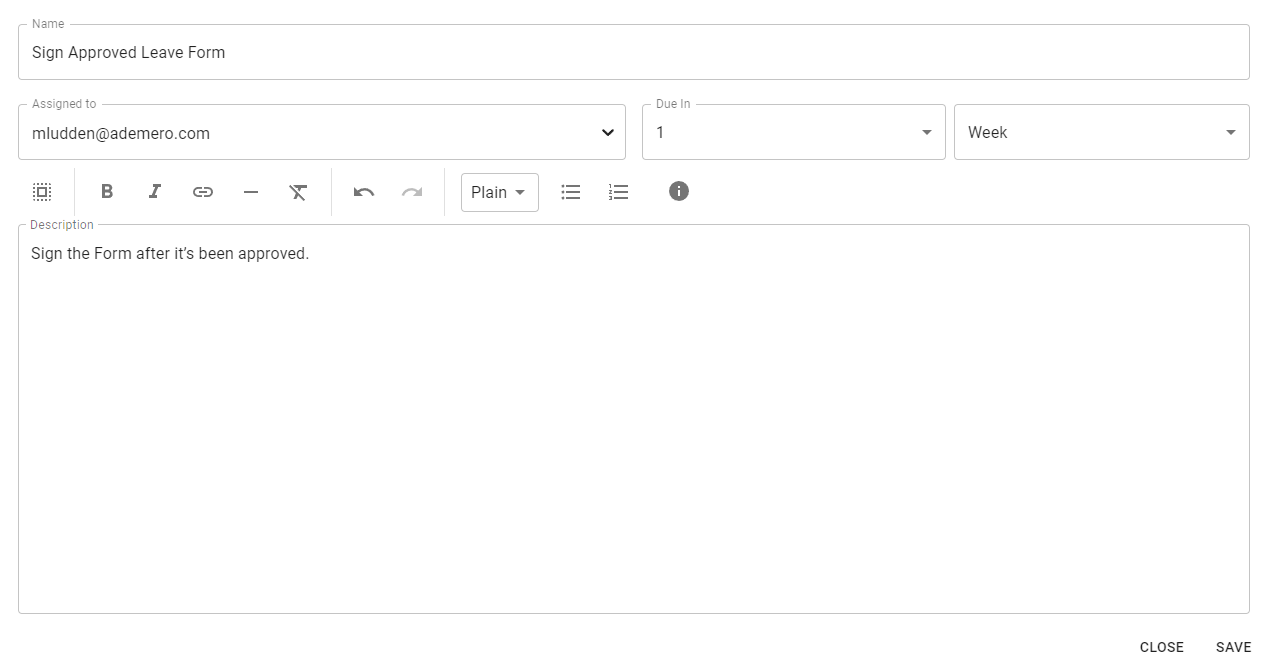
3. Type a name in the field based on the element’s function.
4. Assign the task to a project member from the Assigned To field.
5. Choose how long until the task is due. (Optional)
6. Enter a description of the task.
Connecting Elements
1. Left click and drag from an output icon of an element to the input icon of another element to link them.
Arrow Pointing out of an element – Found in any trigger, used for indicating which action happens as a result of that trigger.
Bell Icon – Found on the right point of the Approval or Task Actions. Triggers when documents arrive on the stage.
Thumbs Up Icon – Found on the bottom point of the Approval Action. Triggers when documents are approved.
Thumbs Down Icon – Found on the left point of the Approval Action. Triggers when documents are declined.
Clock Icon – Found on the left side of the Task Action. Triggers reminders based on the task’s due date.
Arrow Pointing towards an element – Found on any action. Indicates an input that can be linked to any of the output icons.
• If you attempt to connect a trigger to another trigger, the system will not allow the connection.
• If you attempt to connect a trigger to the output of an approval action, the system will automatically make the connection to the input at the top of that approval action.
Deleting Connections
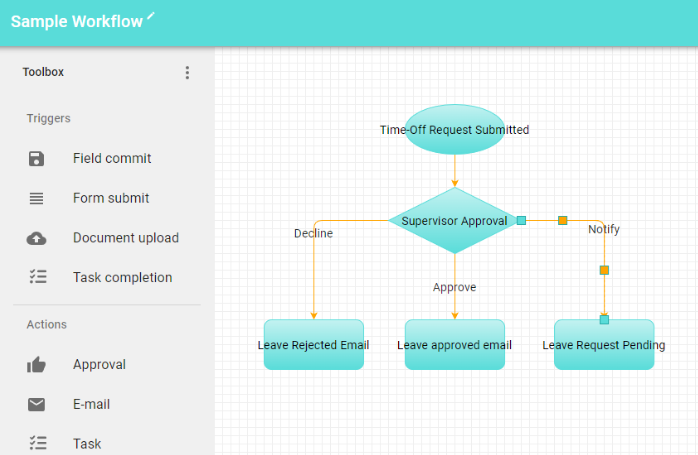
1. Click the connection you wish to delete.
2. Hit the Delete key on your keyboard.
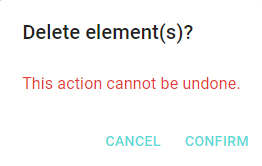
3. Confirm the deletion of the connection element.
Deleting Elements
1. Click the Red Trash Can at the top of the element you wish to delete.
2. Confirm the deletion of the element.
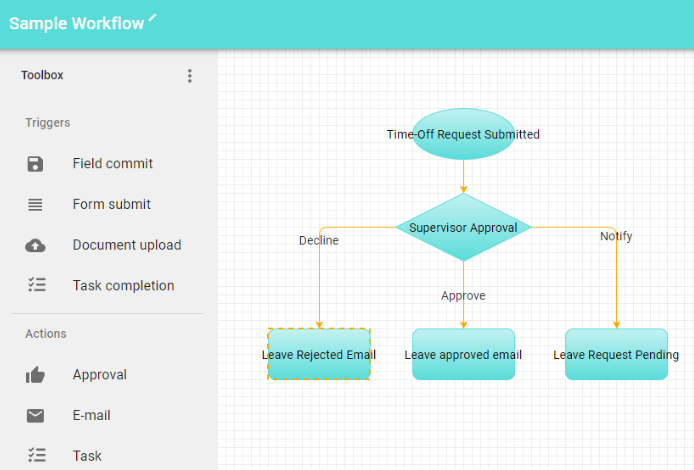
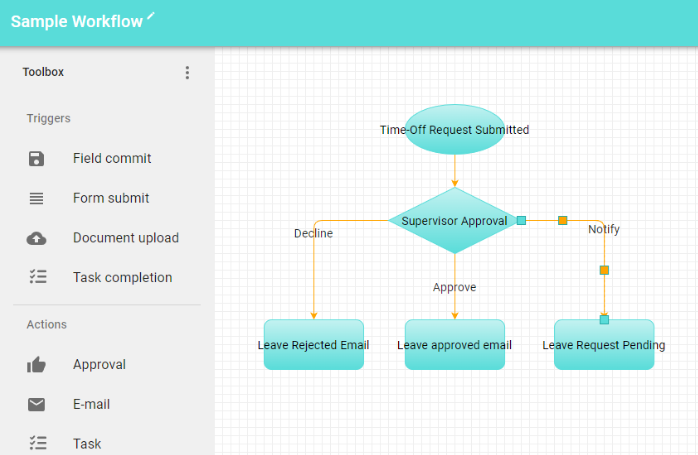
Here is the final workflow for a Time-off Request form submitted by an employee. To be approved by a supervisor. The supervisor is notified when the document arrives in the process, and the user that uploaded the document is notified when the document is either approved or declined. You’ll notice that all elements are teal, and we have no red notifications which indicate there is something missing to complete the workflow.
Deleting Workflows
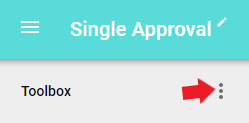
1. Click the vertical ellipses to access the Toolbox.
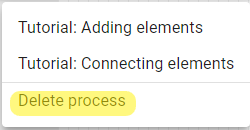
2. Click Delete Process.
3. Click CONFIRM to completely remove the process.
